
Shutter Repair: The Complete DIY Guide for Every Shutter Type
Shutters take more abuse than almost any other exterior fixture. Sun bakes the paint, rain swells the wood, and wind rattles the hinges loose year after year. Most of the damage that ends up looking expensive is actually simple to fix once you know which part failed and why.
This guide walks through shutter repair for the three types you’re most likely to own: painted wood exteriors, interior plantation shutters, and vinyl or composite panels. Each material fails differently, so the fix looks different too.
What Causes Shutters to Need Repair
Exterior wood shutters usually fail at the joints first. The mortise and tenon connections that hold the frame together loosen as the wood expands and contracts with humidity. Once that joint has play in it, the whole shutter starts to rack and the louvers inside shift out of alignment.
Interior plantation shutters fail differently. Their moving parts, the tilt rods, hinges, and louver pins, wear out from daily use long before the wood or vinyl itself shows any damage. A shutter that won’t stay tilted or hangs crooked almost always has a hardware problem, not a structural one.
Vinyl and composite shutters rarely rot, but UV exposure makes the plastic brittle over time. Cracks tend to start at the mounting holes, where stress concentrates every time wind pushes against the panel.
Tools and Materials for Shutter Repair
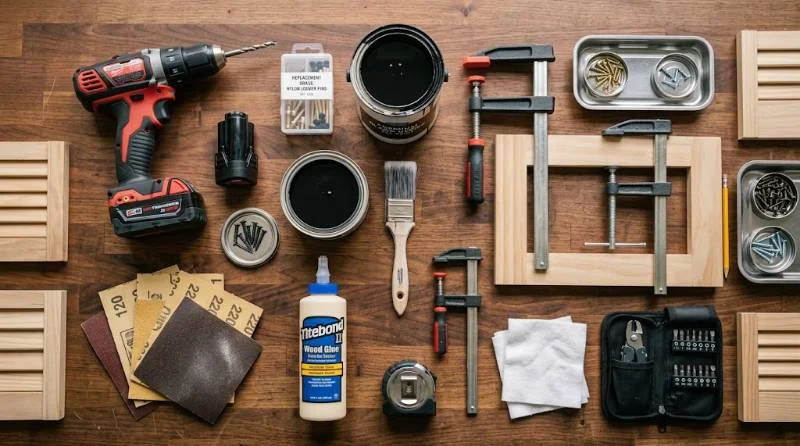
You don’t need a full workshop for most shutter repair jobs. A basic kit covers nearly everything:
- A cordless drill with assorted bits
- Waterproof wood glue or two-part epoxy
- Bar clamps at least 12 inches wider than the shutter
- A wire brush and medium-grit sandpaper
- Exterior primer and paint matched to your trim color
- Replacement louver pins, hinges, or magnetic catches as needed
Buy a few extra louver pins even if only one is broken. They’re inexpensive and the rest are usually close behind on wear.
How to Repair Exterior Wood Shutters
1: Remove and Prep the Shutter
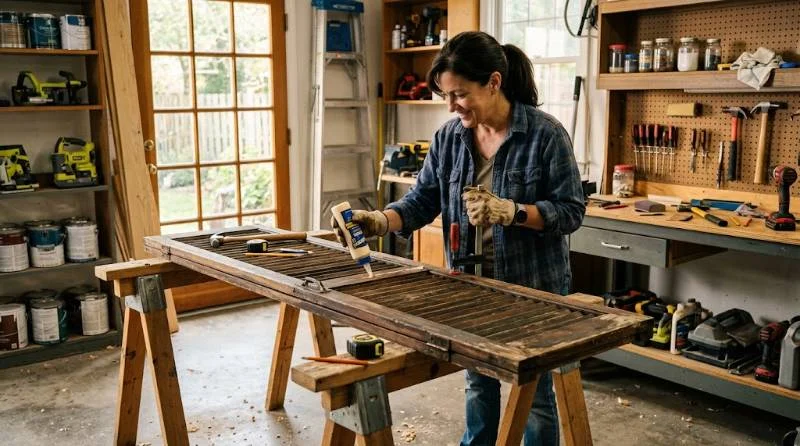
Take the shutter down before doing any repair work. Trying to fix a mortise joint or replace a louver while the shutter still hangs on the house makes clamping nearly impossible and risks damaging the siding.
Back out the mounting screws or pull the nails, then set the shutter flat on sawhorses or a workbench. Brush off loose paint and dirt with a wire brush so you can see the actual extent of the damage before deciding on a repair method.
2: Fix a Loose or Broken Frame Joint
A racked shutter with visible gaps at the corners has a failed mortise and tenon joint. Clean out any old glue or debris from the joint with a chisel, then work waterproof polyurethane glue into the gap. Clamp the corner tight and let it cure fully, usually 24 hours, before moving the shutter again.
If the tenon itself has snapped off rather than just loosened, you’ll need to cut a new tenon from matching wood and fit it into the existing mortise before gluing.
3: Replace a Rotted Frame Section
Rot spreads once it starts, so cut back to solid wood rather than patching over soft spots. Remove the damaged section with a saw, then mill a replacement piece from rot-resistant cedar to match the original profile, including any grooves that hold the louvers in place.
Glue and clamp the new section into the frame, then sand the joint flush once the glue sets. This is more involved than a joint repair, but it’s still well within reach for anyone comfortable with basic woodworking.
Reattach or Replace Damaged Louvers
Loose louvers usually just need their pins reglued or replaced. Clear out the old glue from the slot, apply a small amount of waterproof adhesive to the louver’s ends, and press it back into position. Wipe away any excess glue immediately so it doesn’t show once painted.
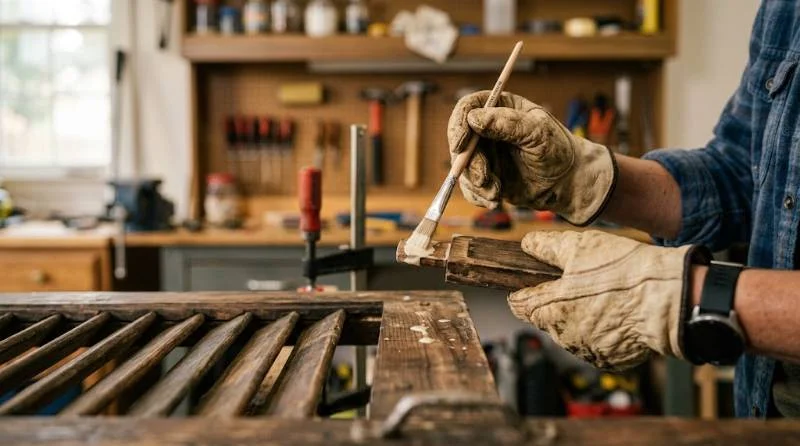
A cracked or split louver is harder to save. Replacing it with a new slat cut to match the original width and shape gives a cleaner result than trying to glue a splintered piece back together.
1: Fix a Loose or Sagging Panel
Sagging panels almost always trace back to worn hinge screws rather than a damaged frame. Remove the hinge, fill the stripped screw holes with wood glue and toothpick shims, let them dry, then reinstall the hinge into the repaired holes.
If the hinges themselves are worn out rather than the screw holes, replace them outright. Matching hardware is easy to find since plantation shutter hinges are fairly standardized across manufacturers.
2: Repair a Broken Louver Pin
Plantation shutters use small spring-loaded pins to hold each slat to the frame. When one snaps, that louver falls loose or drops out entirely. Pull the damaged pin with needle-nose pliers, then press a replacement pin into the same hole.
Depress the spring-loaded end of both pins as you set the louver back into the frame, then release them once they line up with the holes. This takes practice on the first try but becomes quick after that.
3: Fix a Stuck or Loose Tilt Rod
A tilt rod that won’t hold position usually has a worn tension mechanism where it connects to the louvers. On most designs, this connection point can be tightened or replaced without removing the entire shutter panel. Check the manufacturer’s hardware first, since tilt rod components vary more between brands than louver pins do.
How to Repair Vinyl and Composite Shutters
Vinyl shutters can’t be glued back together the way wood can, since standard adhesives don’t bond well to the material. Small cracks near mounting holes can sometimes be reinforced with a vinyl-specific repair epoxy applied to the back side, where it won’t show.
For cracks in a visible area or damage to a decorative panel, replacement is usually more reliable than repair. Vinyl shutters are sold as matched pairs, so check whether you can order a single replacement panel before assuming you need to replace both.
Repainting and Refinishing After Repair
Any exterior wood repair needs to be primed and painted before it goes back outside, even if the rest of the shutter still looks fine. Bare wood exposed during a repair will absorb moisture faster than the surrounding painted surface and rot again within a season or two.
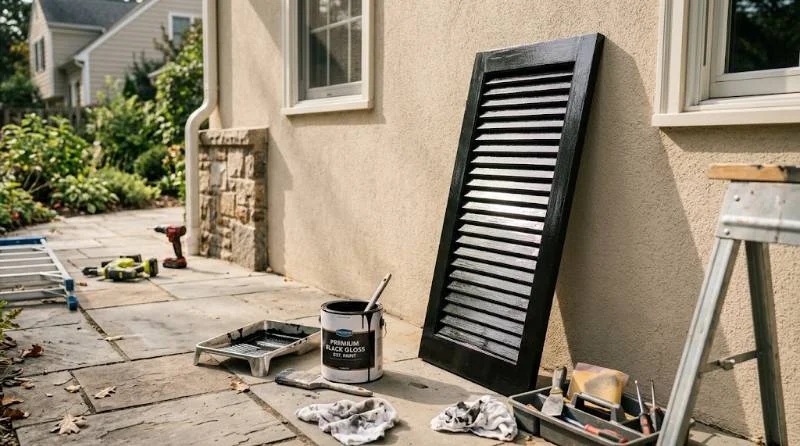
Sand the entire shutter lightly before painting, not just the repaired section, so the new paint adheres evenly and the repair doesn’t stand out as an obvious patch once it’s back on the house.
When to Repair vs Replace
Repair makes sense when the damage is limited to a joint, a few louvers, or the hardware. These fixes are cheap, quick, and don’t require matching an entire shutter’s finish.
Replacement becomes the better option when more than a third of the frame has rotted, when the shutter has warped out of square, or when the specific louver or hardware profile is no longer available. At that point, the labor of chasing down matching parts usually costs more than a new shutter.
When to Call a Professional
Some shutter problems are worth handing off. Shutters mounted more than one story up involve ladder work that’s genuinely dangerous to do alone. Custom or historic shutters with irregular joinery can also be easy to damage further without the right tools.
Plantation shutters that came with a manufacturer warranty are worth checking before any DIY work begins. Opening the frame yourself may void coverage that would have paid for the repair anyway.
How Much Does Shutter Repair Cost
A simple DIY fix, like regluing a joint or replacing a few louver pins, typically costs under 30 dollars in materials. A full frame section replacement runs higher once you factor in matching lumber and paint, but still stays far below the cost of a new shutter.
Professional shutter repair services generally charge based on the scope of work and whether parts need to be custom matched, so get a specific quote before committing rather than assuming a flat rate applies.
Getting the Most Out of a Shutter Repair
Shutter repair rewards patience more than skill. Taking the time to remove the shutter properly, clean the joint fully, and let glue cure without rushing produces a stronger fix than most professional jobs done under time pressure. Whether you’re dealing with a single loose louver or a full frame rebuild, the same principle holds: fix the actual failure point rather than papering over the symptom, and the repair will outlast the shutter’s original hardware.