
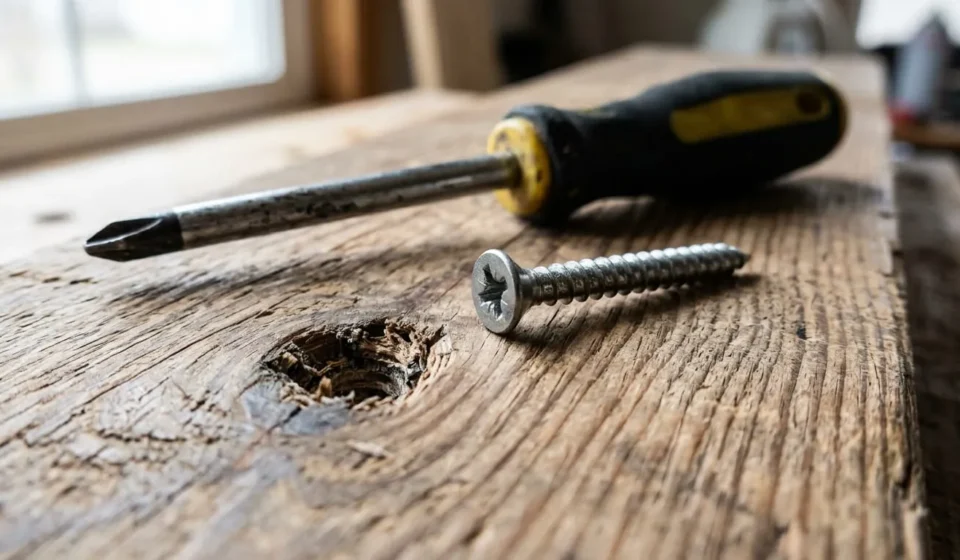
How to Fix a Stripped Screw Hole in Wood
A stripped screw hole happens when the wood fibers around the shank wear down and stop gripping the threads. The screw spins freely instead of tightening, even though it looks like it’s going in fine. The fix depends on how much wood is actually gone, not just on grabbing the nearest tube of glue. Below are four repair methods ranked by how much damage they can handle, plus how to tell which one your hole actually needs.
Why Screw Holes Strip in Wood
Most stripped holes come from one of a few habits. Removing and reinstalling the same screw several times wears down the fibers a little more each time. Driving a screw with an impact driver past the point of resistance crushes the wood instead of biting into it. A pilot hole drilled too wide for the screw’s core diameter never gave the threads enough to grip in the first place. Softwoods like pine, and manufactured boards like particleboard or MDF, compress rather than hold threads the way hardwood does. Moisture swings also play a part, since wood that repeatedly swells and shrinks around a shank loosens its own grip over time .Fence posts and rails take this kind of wear especially often, since they’re outdoors and get drilled into repeatedly during a fence build.
Check How Bad the Damage Is Before You Pick a Fix
Skipping this step is why so many stripped screw repairs fail within a few months. Pull the screw and look at the hole itself, not just how loose the screw felt.
If the hole still holds its round shape and the wood around it feels solid, you have light damage. A fiber rebuild with toothpicks will handle this.
If the hole is visibly wider than the screw shank, with torn fibers but no crumbling, that is moderate damage. This calls for a dowel repair rather than a quick fill.
If the wood is soft, crumbling, or splitting at the edges, or the board is particleboard that has broken down, you are dealing with severe damage. Epoxy or a threaded insert is the only repair that will hold here.
If the hole is on a door hinge, a wall bracket, or anything carrying constant weight, treat it as heavy duty regardless of how the hole looks. Glue alone is rarely enough for a point that takes repeated stress.
Tools and Materials You Will Need
- Wooden toothpicks or flat wooden matchsticks
- Wood glue (PVA type)
- A dowel rod slightly larger than the stripped hole
- Two-part epoxy putty or wood filler
- A threaded wood insert, sized to your screw
- A hand drill and a drill bit matched to your dowel or insert
- A flush-cut saw or sharp utility knife
- A screwdriver
Method 1: Rebuild the Fibers With Toothpicks or Matchsticks (Light Duty)
This is the right call for a hole that is only mildly stripped, such as a cabinet hinge or a drawer pull that has loosened over time.
Remove the screw completely. Clean loose fibers and dust out of the hole by tapping the piece lightly and blowing or vacuuming out the debris. Dip two or three toothpicks in wood glue and push them into the hole until it feels tightly packed, adding more if there is still gap around the shank. Snap the toothpicks off flush with the surface using a utility knife. Let the glue cure fully, usually about 24 hours, rather than the 20 to 30 minutes it takes to feel dry to the touch. Drill a small pilot hole into the new plug so the screw has a clear path. Drive the screw back in and stop as soon as it feels firm, without forcing extra turns.
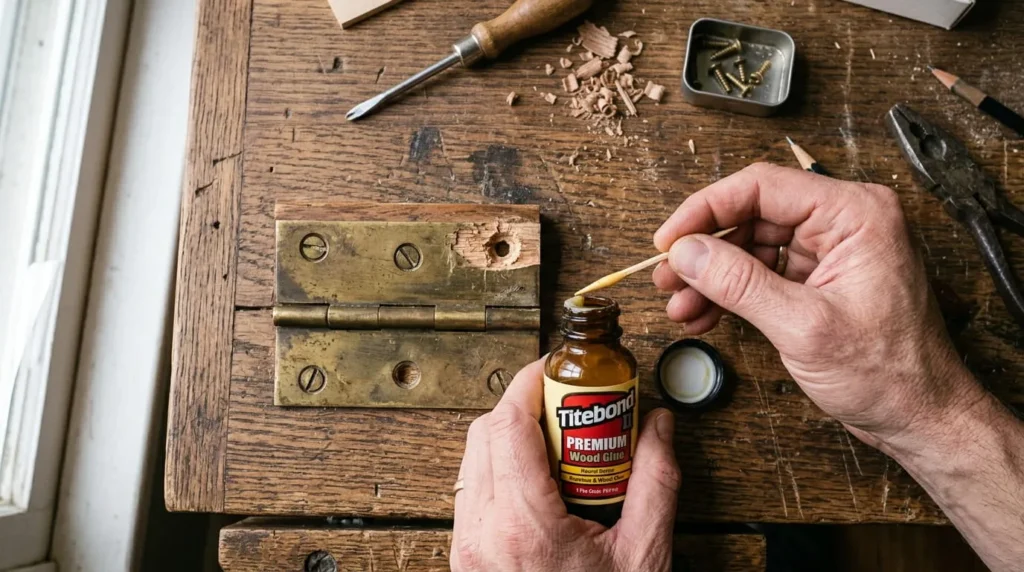
One thing worth knowing here: the wood glue itself is not what holds the screw. It is brittle under shear stress and can crack if the piece is moved or jarred. What actually holds the screw is the fresh wood fiber in the toothpicks gripping the threads, with the glue simply keeping that fiber bonded together. That is why this method suits light duty spots and struggles under repeated hinge swings or drawer slides.
Method 2: Drill and Plug With a Wood Dowel (Medium to Heavy Duty)
Use this when the hole is noticeably oversized but the surrounding wood is still solid. It gives the screw far more fresh material to grip than a few toothpicks can.
Drill out the hole by hand rather than with a powered drill, so you clear torn fibers without accidentally widening it further. Cut a section of dowel to match the depth of the hole, coating it fully in wood glue before inserting it. Tap it in snugly, not forcefully, since forcing it can crack the surrounding wood. Let the glue cure for the full 24 hours listed on the bottle before doing anything else. Trim the dowel flush with a flush-cut saw or sharp chisel. Drill a proper pilot hole through the center of the new dowel, sized for your screw. Drive the screw in slowly, stopping once it feels secure.
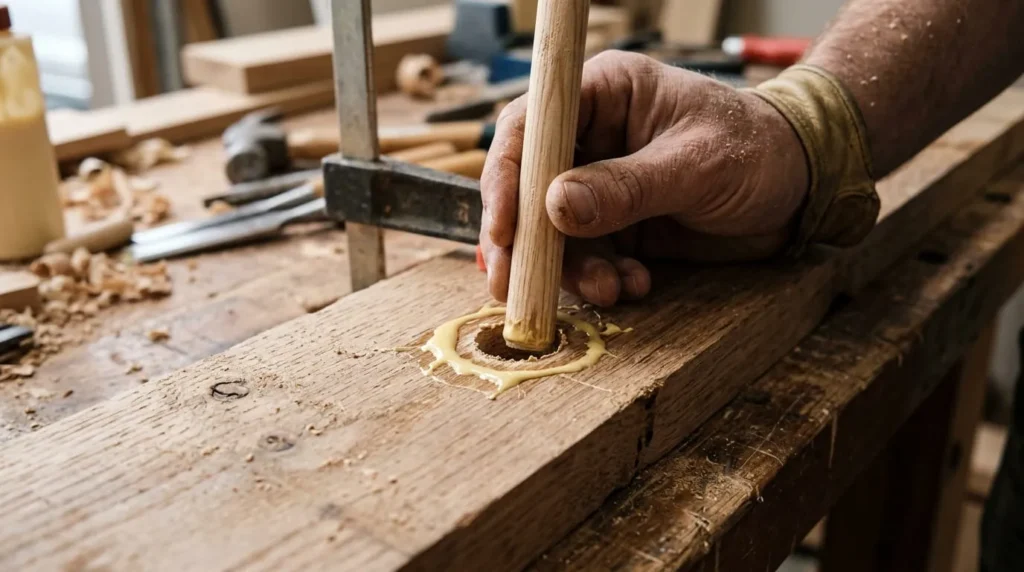
This method holds up far better than toothpicks on hinges, shelf brackets, and anywhere the screw sees regular movement, because the dowel replaces a much larger volume of compromised wood.
Method 3: Fill Enlarged or Crumbling Holes With Epoxy Putty
Toothpicks and dowels both assume there is solid wood left to work with. When the hole is crumbling, torn beyond a clean edge, or drilled into particleboard that has broken down, a two-part epoxy putty is the better repair.
Knead the two parts of the epoxy putty together until the color is uniform, following the product’s working time. Press the putty into the hole, slightly overfilling it so it sits a little proud of the surface. Let it cure fully, which can range from twenty minutes to a few hours depending on the product, so check the label. Once hardened, drill a pilot hole through the center of the cured epoxy. Drive the screw in as you would with fresh wood.
Epoxy holds up better than wood glue under shear and compression, and it does not rely on leftover wood fiber to work. This makes it a solid choice for particleboard furniture and any hole where the original wood is genuinely gone.
Method 4: Install a Threaded Insert for Hardware That Carries Real Weight
Door hinges, closet rod brackets, drawer slides, and wall-mounted shelving all put repeated stress on the same screw holes. A threaded insert gives these spots a permanent metal-to-wood connection instead of asking wood fiber to do all the work again.
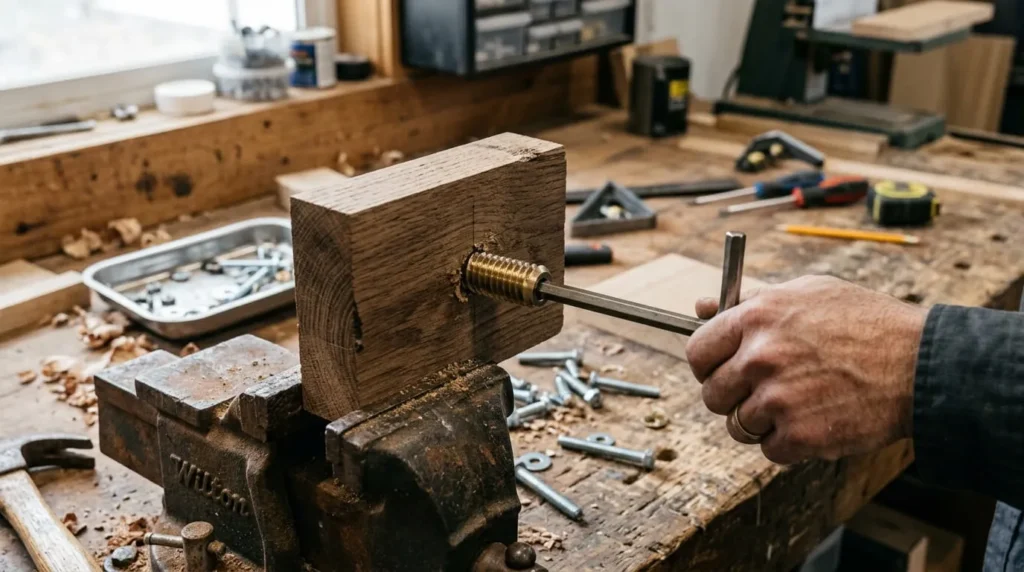
Drill the hole to the diameter specified for your insert, since sizing varies by brand and insert type. Thread the insert in using the installation tool provided, or a straight-slot screwdriver for self-tapping styles. For smooth-barrel inserts, add wood glue or epoxy around the outside before pressing it in place. Once installed, the insert accepts your original screw size again, and the connection holds through repeated tightening and loosening in a way that toothpicks or a dowel plug cannot match over years of use.
When a Bigger Screw Is the Faster Fix
Sometimes filling the hole is more work than the job needs. If there is enough solid wood around the original hole, and the hardware allows for it, stepping up to a longer or wider screw can solve the problem in seconds.
Match the new screw’s thread pattern to the job, choosing a coarser thread for softwood. Check that hinges or brackets can accept a slightly larger screw head or shank without binding. Avoid jumping up too many sizes at once, since an oversized screw can split the wood instead of gripping it. This shortcut works well on furniture and trim, but it is not a substitute for a proper repair on a hole that is already badly torn or crumbling.
How to Keep a Repaired Hole From Stripping Again
A repair is only worth doing once. A few habits keep it that way.
Drill pilot holes sized to the screw’s root diameter, not its outer thread width, so the threads have real wood to bite into. If you are using an impact driver, back off the torque setting once the screw feels snug instead of driving it to a hard stop. Avoid removing and reinserting the same screw repeatedly on hardware you adjust often, such as hinges, and shift to a slightly different spot when you can. In humid areas or on outdoor pieces, sealing exposed end grain reduces the swelling and shrinking that loosens fibers around a shank over time.
FAQ’S
.
1: Does Wood Glue Alone Hold a Screw Permanently?
No. Wood glue bonds wood pieces together, but it is brittle under shear stress and can crack if the piece is jarred or moved. It works well combined with toothpicks or a dowel, where fresh wood fiber does the actual gripping, but it should not be the only thing holding a load-bearing screw in place.
2: How Long Should I Wait Before Driving the Screw Back In?
Most wood glues feel dry within 20 to 30 minutes but need about 24 hours to reach full strength. Epoxy putty varies by product, with some curing in under an hour. Check the label rather than guessing, since driving a screw too early can crack the repair before it sets.
3: Can I Use Super Glue Instead of Wood Glue?
It is not the best choice for this repair. Cyanoacrylate sets too fast to give you working time to pack multiple toothpicks evenly, and it is more brittle than wood glue or epoxy under the twisting stress a screw applies. Wood glue or a two-part epoxy holds up better over time.
4: What if the Stripped Hole Is in Drywall Instead of Wood?
That calls for a different fix entirely, usually a plastic or metal drywall anchor rather than a wood-based repair, since drywall does not have the fiber structure these methods depend on.