
How to Replace a Faucet Cartridge (Step-by-Step DIY Guide)
A dripping faucet, a handle that feels loose, or water that won’t get hot or cold the way it used to are usually signs of one thing: a worn-out cartridge. The good news is that replacing a faucet cartridge is one of the more manageable plumbing repairs you can tackle yourself, and it typically costs a fraction of what a plumber would charge for a service call.
This guide walks through how to identify a bad cartridge, the tools you’ll need, and a full step-by-step process so you can get your faucet working like new again in under an hour.
What Is a Faucet Cartridge and Why It Fails
A cartridge is the small cylindrical component inside a faucet handle that controls the flow and temperature of water. When you turn the handle, the cartridge moves internally to open or close the path for hot and cold water. Over time, the rubber seals, O-rings, and internal springs inside the cartridge wear down from mineral buildup, water pressure, and general use.
Unlike older compression faucets that use separate washers, most modern faucets, including cartridge, ball, and ceramic disc styles, rely on this single replaceable part. That design makes repairs simpler, since you usually only need to swap one component rather than rebuild the entire faucet.
1. Signs Your Cartridge Needs Replacing
A faucet that drips steadily even when fully shut off is the most common symptom. Other signs include a handle that feels loose or wobbly, water temperature that fluctuates unexpectedly, reduced water pressure from a single fixture, or a handle that is difficult to turn. If you notice any of these issues and the faucet is more than a few years old, the cartridge is often the culprit. If the same bathroom’s toilet has also become uncomfortable to use, a chair height model is worth considering while the fixtures are already being worked on.
Tools and Materials You’ll Need
Before starting, gather everything so you’re not searching for a tool halfway through with the water shut off. Most of these items are inexpensive and, if you don’t already own them, available at any hardware store.
You’ll typically need an adjustable wrench or channel-lock pliers, a flathead and Phillips screwdriver, an Allen wrench (many handles use a hex screw), needle-nose pliers, plumber’s grease, and a small towel or bucket to catch drips. You will also need the replacement cartridge itself, which must match your faucet’s brand and model.
1. Finding the Right Replacement Cartridge
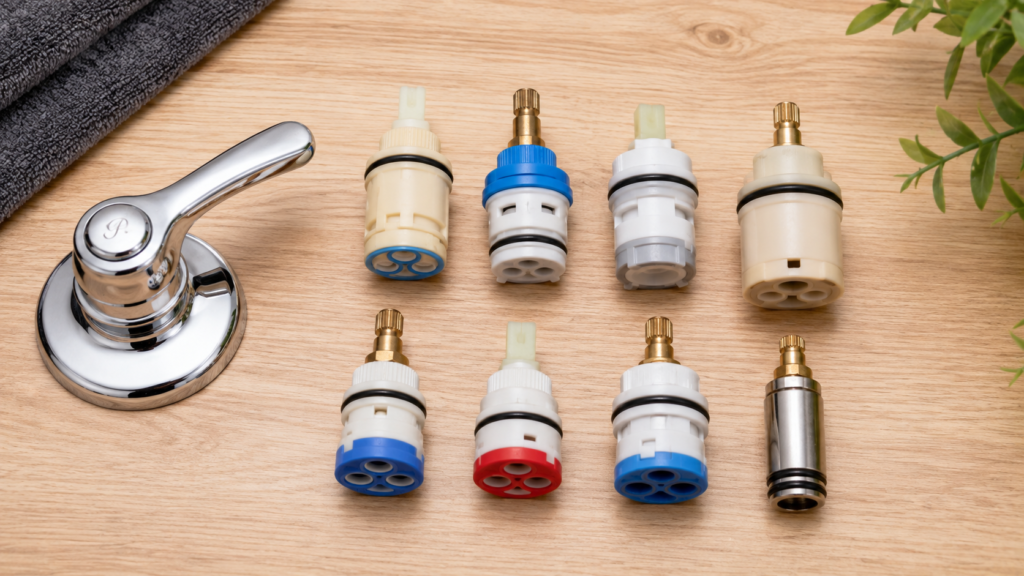
This step matters more than people expect. Cartridges are not universal, even within the same brand, so installing the wrong one can lead to leaks or a faucet that won’t fit back together correctly. Check the underside of your faucet base or the original packaging for a model number. If you can’t find one, remove your current cartridge first and bring it to a hardware store or plumbing supply shop to match it visually, or search the model number stamped directly on the old cartridge. Major manufacturers such as Moen, Delta, Kohler, and American Standard all publish cartridge compatibility charts on their websites, which is often the fastest way to confirm you’re buying the correct part.
Step-by-Step: How to Replace a Faucet Cartridge
Step 1: Shut Off the Water Supply
Locate the shutoff valves under the sink, one for hot and one for cold, and turn them clockwise until they stop. If your sink doesn’t have individual shutoffs, you’ll need to turn off the main water supply to the house. Once shut off, open the faucet handle to release any remaining pressure and let residual water drain out.
Step 2: Plug the Drain
Before removing any parts, plug the sink drain or cover it with a cloth. Small screws and cartridge components are easy to drop, and the last thing you want is a screw disappearing down the drain mid-repair.
Step 3: Remove the Faucet Handle
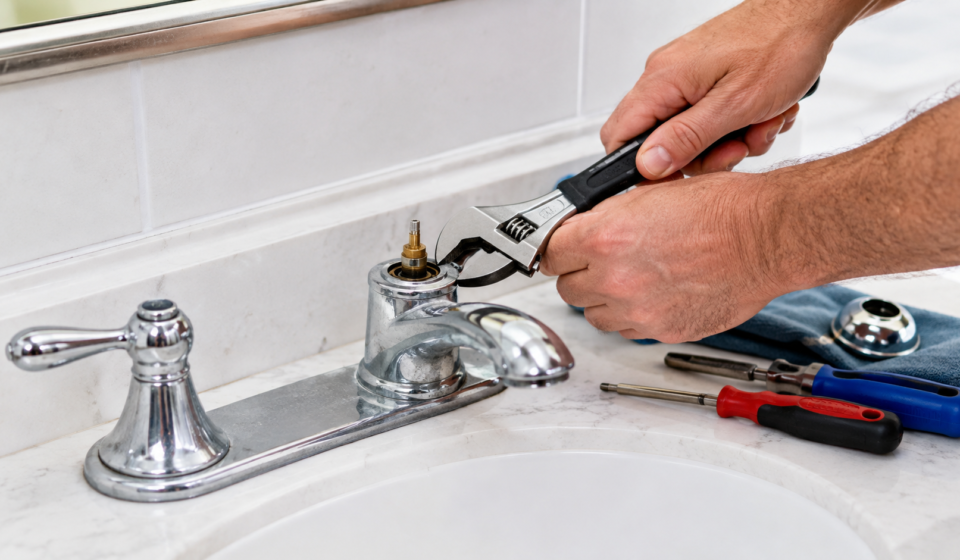
Most handles are held on by a single screw, which may be hidden under a decorative cap on top of the handle. Pop the cap off with a flathead screwdriver, then unscrew the handle screw underneath using a Phillips screwdriver or Allen wrench, depending on your faucet model. Once the screw is out, gently lift or wiggle the handle free. If it’s stuck from mineral buildup, avoid forcing it; a few drops of penetrating oil around the base can help loosen it.
Step 4: Remove the Retaining Clip or Nut
With the handle off, you’ll see either a retaining clip, a decorative dome cover, or a large nut holding the cartridge in place, depending on the brand. Retaining clips are usually small metal U-shaped or C-shaped pieces that can be pried out with needle-nose pliers or a flathead screwdriver. Domed covers typically unscrew by hand or with an adjustable wrench. Set this piece aside somewhere you won’t lose it.
Step 5: Pull Out the Old Cartridge
Grip the top of the cartridge with pliers and pull straight up. Some cartridges come out easily; others are stuck from years of mineral deposits and may need a firm, steady pull or a slight side-to-side wiggle. Avoid twisting forcefully, since this can damage the faucet housing. If it truly won’t budge, a cartridge puller tool, available at most hardware stores, applies even pressure and makes removal much easier without risking damage.
Step 6: Compare and Confirm the Match
Before installing the new cartridge, hold it next to the old one to confirm the size, shape, and notch alignment match exactly. Even cartridges that look similar can have slightly different tab positions, which will prevent the faucet from functioning correctly if installed incorrectly.
Step 7: Install the New Cartridge
Apply a thin layer of plumber’s grease to the O-rings on the new cartridge to help it seat smoothly and extend its lifespan. Insert it into the faucet body, lining up the tabs or notches with the corresponding slots inside the housing. Push down firmly until it sits flush, matching the depth of the old cartridge.
Step 8: Reassemble the Faucet
Replace the retaining clip, nut, or dome cover you removed in Step 4, making sure it’s fully secured. Reattach the handle and tighten the screw, then snap the decorative cap back into place.
Step 9: Turn the Water Back On and Test
Slowly turn the shutoff valves counterclockwise to restore water flow. Turn the faucet handle through its full range of motion, hot and cold, to check for smooth operation and confirm there are no leaks at the base or under the sink. Let it run for a minute and check the connections again once the water has been flowing.
Common Mistakes to Avoid
Skipping the water shutoff step is the most frequent and messiest mistake, so always confirm the water is off before removing anything. Forcing a stuck cartridge with excessive twisting can crack the faucet body, turning a simple repair into a full faucet replacement. Buying a generic or mismatched cartridge instead of confirming the exact model is another common issue that leads to a second trip to the store. Finally, forgetting to apply plumber’s grease to the new O-rings can cause premature wear and future leaks, so don’t skip that small step even though it’s easy to overlook.
How Much Does It Cost to Replace a Faucet Cartridge?
A replacement cartridge typically costs between 10 and 40 dollars depending on the brand and model, with premium or specialty finishes sometimes running higher. Doing the job yourself means you’re only paying for the part. Hiring a plumber for the same repair generally costs between 100 and 250 dollars once labor and a service call fee are included, making this one of the more cost-effective repairs to handle on your own if you’re comfortable with basic tools.
When to Call a Plumber Instead
While cartridge replacement is beginner-friendly, a few situations call for professional help. If the shutoff valves themselves are corroded or won’t turn, if you notice water damage or mold around the sink base suggesting a longer-term leak, if the faucet body itself is cracked, or if you’re dealing with a very old or obscure faucet brand with no available replacement parts, it’s worth bringing in a licensed plumber rather than risking further damage.
How Long Does a Faucet Cartridge Last?
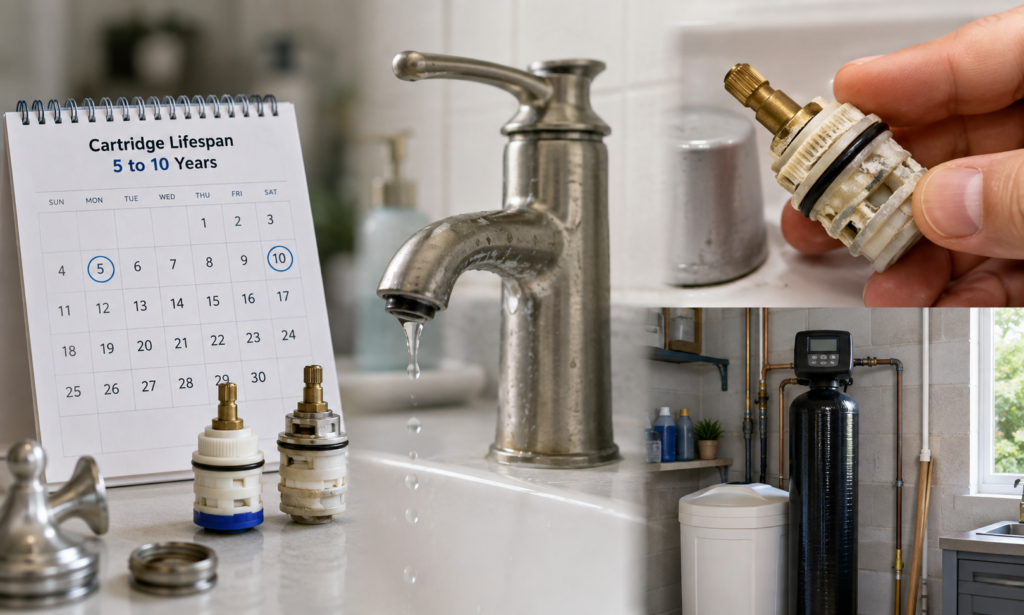
Most cartridges last anywhere from 5 to 10 years under normal use, though homes with hard water tend to see faster mineral buildup and shorter lifespans. If you’ve replaced a cartridge before and the same faucet starts leaking again within a year or two, it may be worth testing your water hardness or considering a whole-house water softener to protect not just your faucets but other plumbing fixtures as well.
Final Thoughts
Replacing a faucet cartridge is a repair most homeowners can complete in under an hour with a handful of basic tools and the correct replacement part. Taking the time to shut off the water, match the cartridge exactly, and reassemble carefully will save you both the cost of a plumber and the ongoing annoyance of a dripping faucet. If you run into a stuck cartridge, stripped screw, or anything that feels beyond a straightforward swap, it’s always reasonable to pause and bring in a professional rather than risk damaging the fixture further.


